How to recover emails in Outlook for Microsoft 365
- Oct 21, 2024
- Outlook
Users, either on purpose or by accident, can remove emails from the Inbox and Deleted Items folders or even purge them from the Recoverable Items folder. What’s more, admins can create an archiving and deletion policy that automatically deletes items from the mailbox. In case you would need to recover deleted emails, Microsoft has a Data Handling Standard policy that specifies how long customer data is retained after deletion. There are generally two scenarios in which customer data is deleted:
- Active Deletion: The tenant has an active subscription and a user or administrator deletes data, or administrators delete a user.
- Passive Deletion: The tenant subscription ends.
What happens to deleted items in Microsoft 365
When user delete items from a mailbox folder, the deleted items go to your Deleted Items folder. Users can easily access and recover such item using their Outlook desktop app (such as Outlook 2019 or 2016) or in Outlook on the web (formerly known as Outlook Web App).
If items are removed from the Deleted Items folder, the removed items go to the Recoverable Items folder. While the user can still recover items from there, they will be permanently deleted (purged) when the retention period expires. By default, the period is 14 days long, but it can be extended up to a maximum of 30 days.
Finally, if emails are purged from the Recoverable Items folder, or items are deleted by an automated process, such as the retention policy assigned to user mailboxes, they can't be recovered by a user. But Microsoft 365 admin can recover purged messages if the deleted item retention period for the item hasn't expired.
Recover deleted messages in a user's mailbox in Exchange Online
Administrators can use the eDiscovery Export tool in the Exchange admin center (EAC) to search for and recover deleted email messages in a user's mailbox to an Outlook Data File, which is also called a PST file. After recovered emails are exported to a PST file, you or other users can open them in Outlook to review or print messages returned in the search results. PST files can also be opened in third-party pst viewer applications. Below you will find instructions on how to proceed:
Step 1. Before you will be able to follow this procedure, make sure that you have sufficient rights to perform an eDiscovery search. To check that:
a. After logging in to your Office 365 portal, click the Admin app.

b. In the Microsoft 365 admin center, expand Admin centers and click Security.

b. In the Security & Compliance center, go to Permissions and edit eDiscovery Manager role group. Click edit, next to the eDiscovery Administrator group and add your account there. Sign out and sign in again to Office 365, so that the changes take effect.

Step 2. Once you have assigned the necessary permissions to your account, go to Search > Content Search.

Step 3. Create a new search by clicking the New search button.

Step 4. Using the Add conditions (1), you can specify your search query. Clicking Modify (2) allows you to choose certain groups or users for whom the search will be performed.

Step 5. Clicking the Save & run button at the bottom will let you enter the name and description for your search and run it immediately.

Step 6. Once you refresh the Searches tab, your search should become available. Click your search and then choose the Export report option.

Step 7. Then, click Generate report.

Step 8. In the Exports tab, find the newly created export item, click it and click Download report.

Step 9. Once everything is ready to download, launch the eDiscovery Export Tool and paste the export key (use the Copy to clipboard button to get it) and select the location to download PST files.

Step 10. After selecting a location for the PST file, click Start to download the file to your computer.
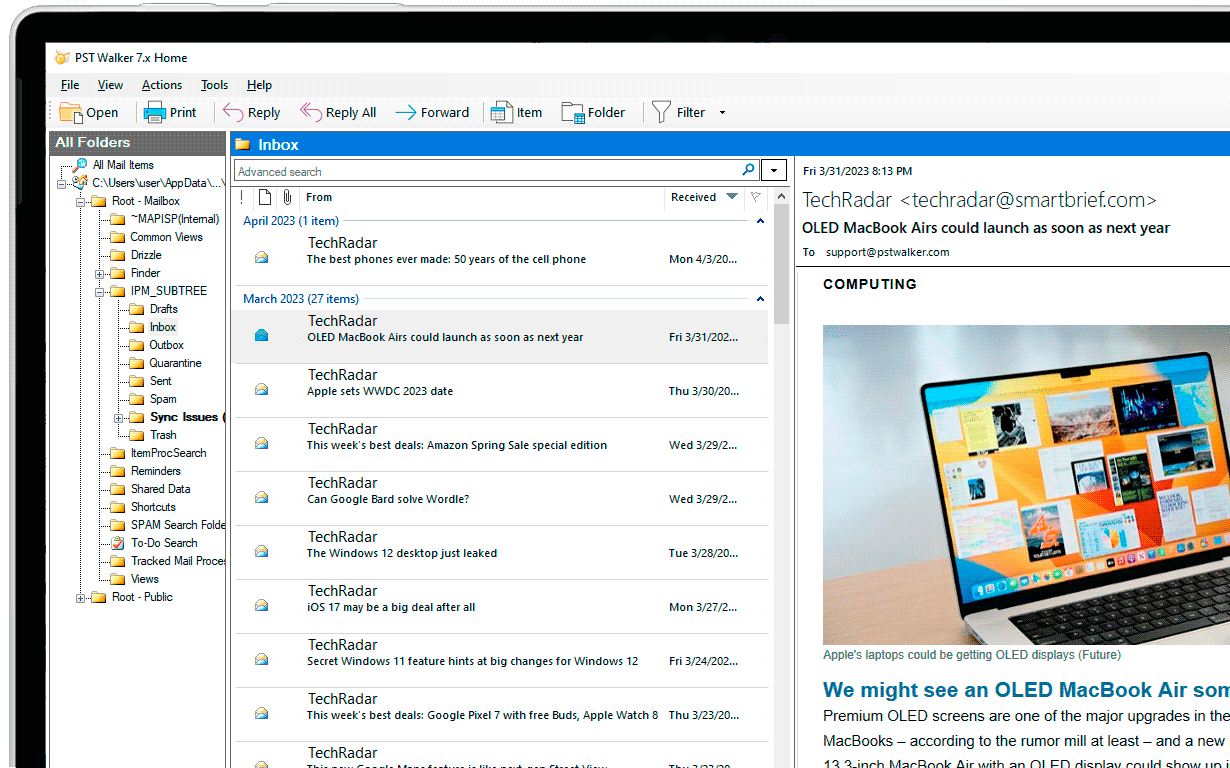
Step 11. Download PST Viewer and open the PST file with recovered emails from user’s mailbox.

See Also
Recover deleted folder and emails in Outlook
Accidentally and permanently deleted items in Outlook? Stop using Outlook immediately, download a recovery tool, open your mailbox in safe mode, and follow the tool's instructions to recover your deleted items.